Hello World
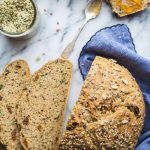
Quick Breakfast Recipes
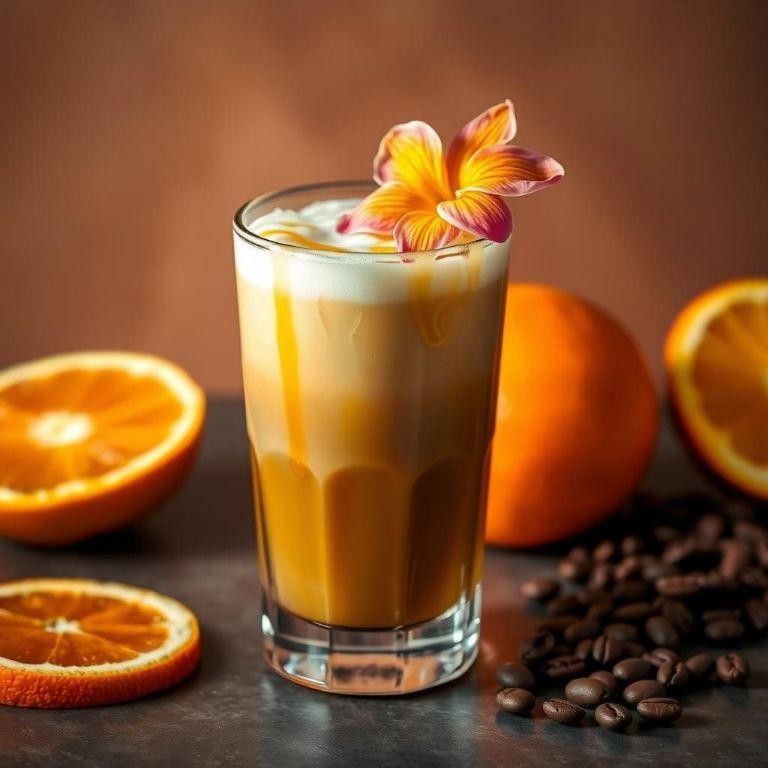
18 Refreshing Starbucks Cold Brew Recipes for Summer
Summer has arrived, and with it comes the perfect excuse to enjoy a refreshing glass of cold brew. Starbucks has...
Sweet Dessert Recipes
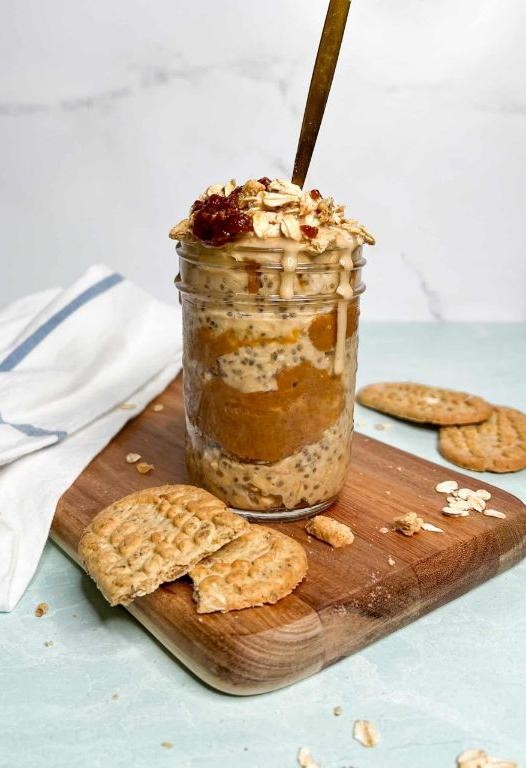
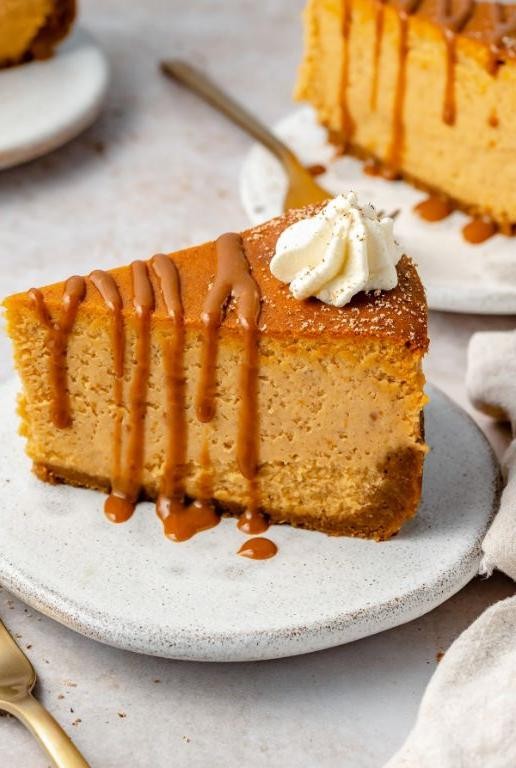
20 Irresistible Cookie Butter Recipes You Must Try
Ah, cookie butter. The creamy, dreamy spread that’s taken the world by storm. Whether you’re a fan of its rich,...

Classic Recipes
18 Creamy Grits Recipes with Southern Flair
Get ready to dig into the comfort of the South with these 18 creamy grits recipes that’ll make your taste...
One Pan Recipes
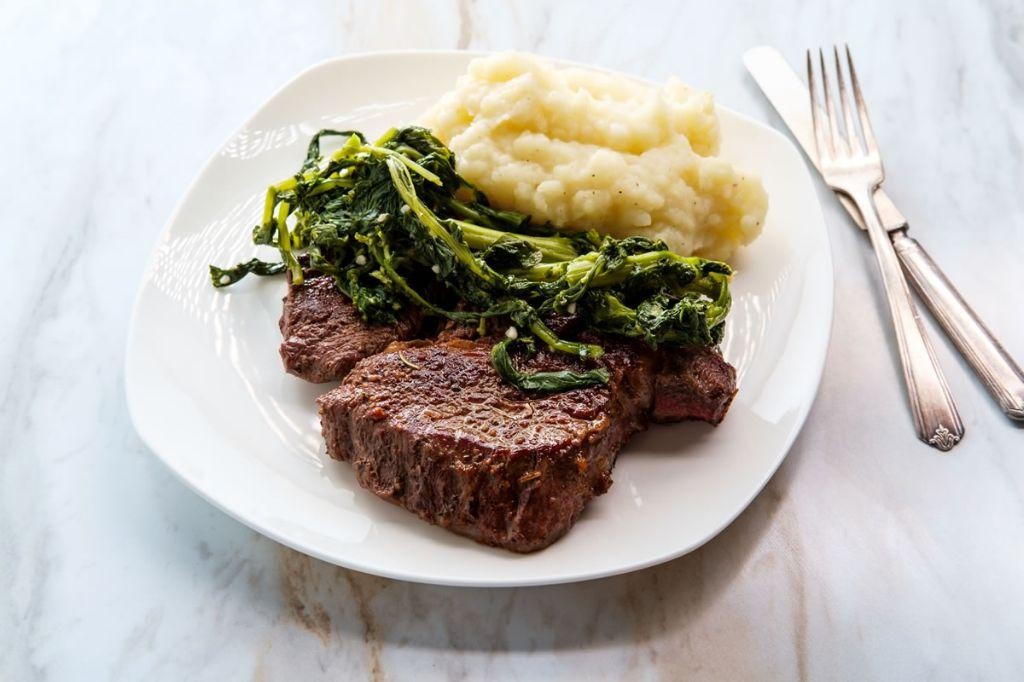
18 Savory Venison Round Steak Recipes for Hearty Meals
the content Pan-Seared Venison Round Steak with Garlic Butter A classic pairing of tender venison and rich garlic butter, this...

Weeknight Recipes
18 Easy Camping Recipes for Two Delicious Meals
Gone are the days when camping meant sacrificing taste and quality for the great outdoors. With these 18 easy and...
Sweet Dessert Recipes
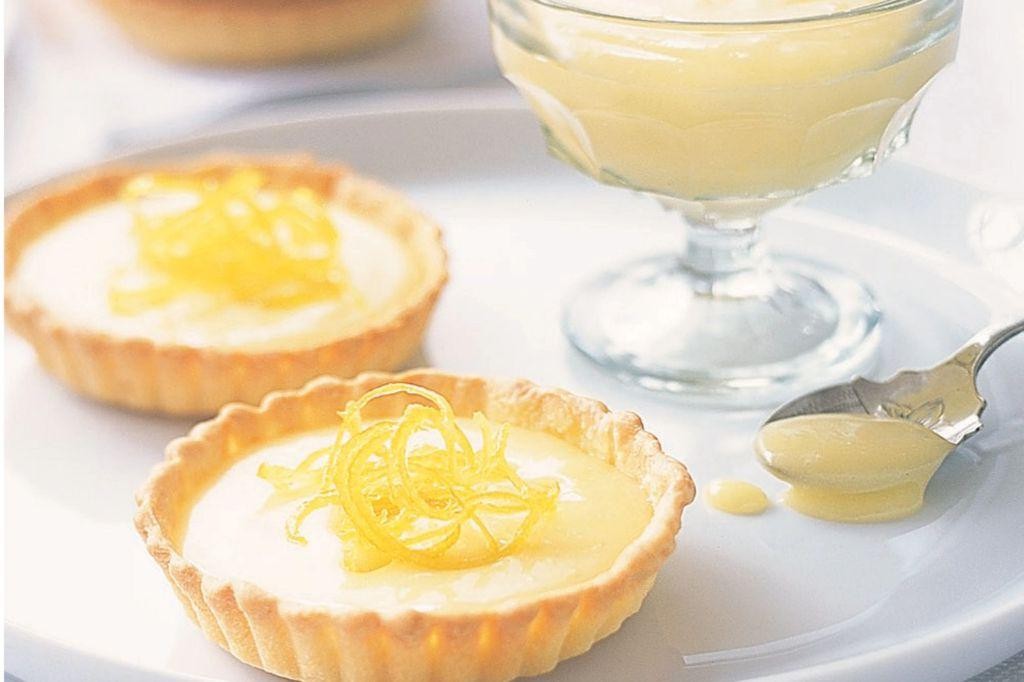
18 Delicious Lemon Curd Tartlets Recipes Perfect for Any Occasion
When it comes to sweet treats, there’s nothing quite like a tangy and creamy lemon curd filling nestled within a...
Vegetarian Recipes
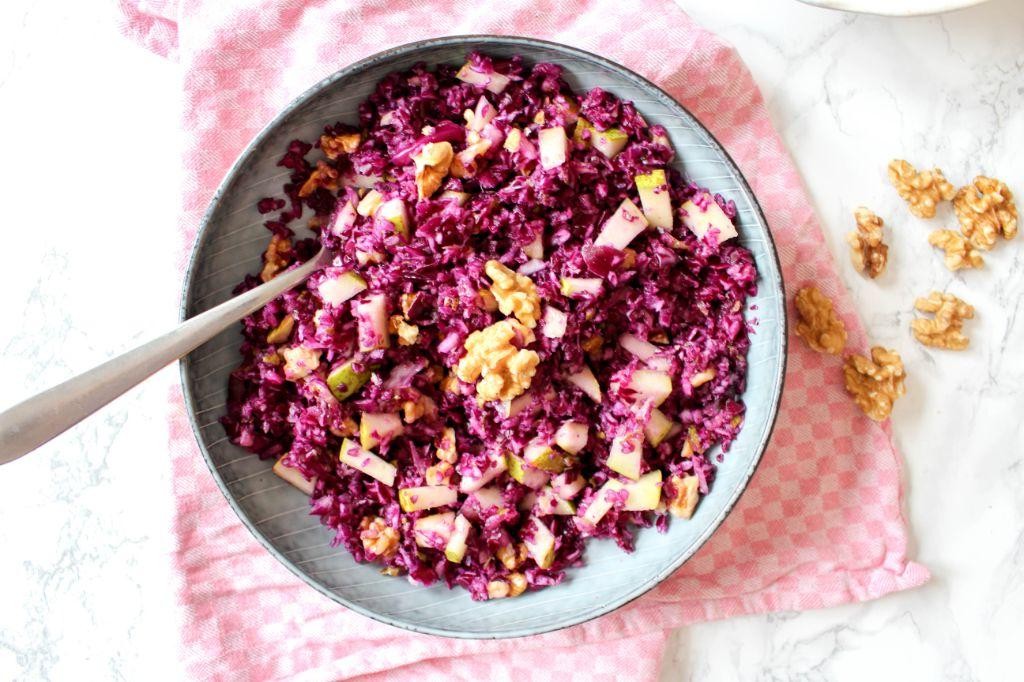
18 Flavorful Healthy Red Cabbage Recipes Nutritious
Are you looking to add some extra nutrients to your meals without sacrificing flavor? Look no further than the humble...
Seafood Recipes
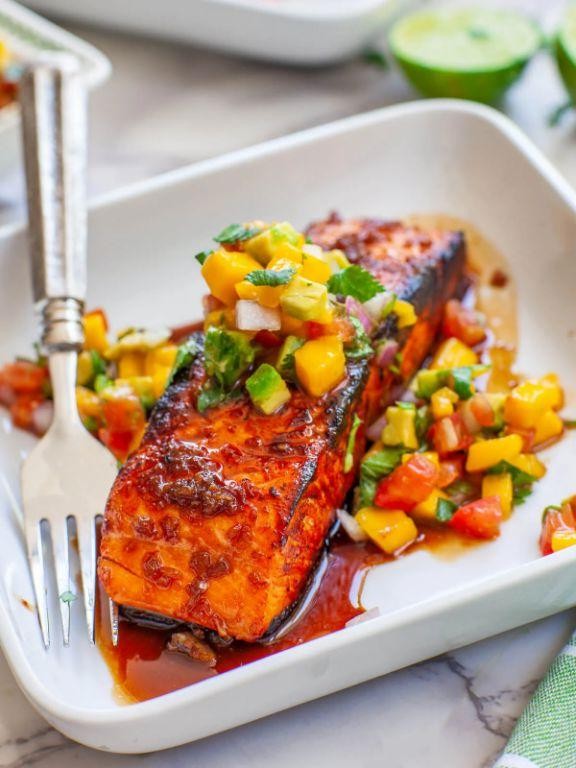
20 Delicious Teriyaki Salmon Recipes for Every Occasion
Are you looking for a flavorful and easy-to-make dish that’s perfect for any occasion? Look no further than teriyaki salmon!...

Savory Appetizer Recipes
20 Refreshing Vodka Gimlet Recipes for Every Occasion
As the weather warms up, our cravings for refreshing cocktails also heat up. And what’s more refreshing than a classic...
Holiday Recipes
20 Festive Thanksgiving Recipes Delicious
The holiday season is upon us, and what better way to celebrate than with a deliciously festive Thanksgiving feast? Whether...