Hello World
Quick Breakfast Recipes
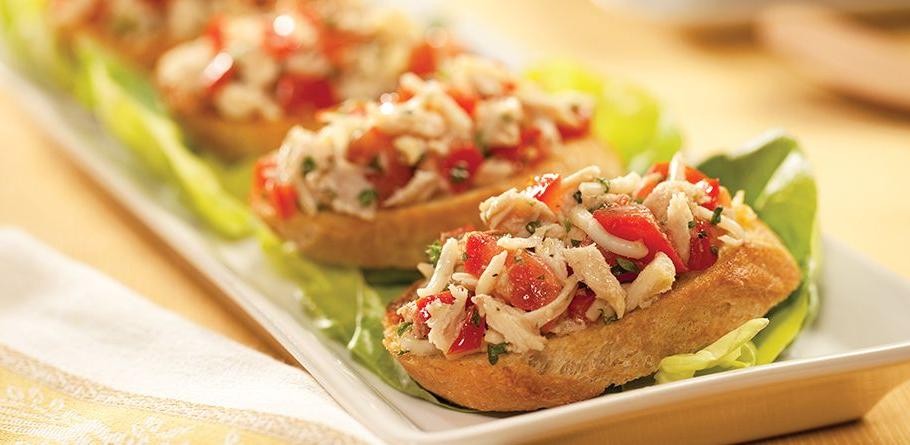
20 Easy Can Tuna Recipes for Quick Meals
Are you tired of the same old lunch routine? Look no further! Canned tuna is a pantry staple that can...
Holiday Recipes
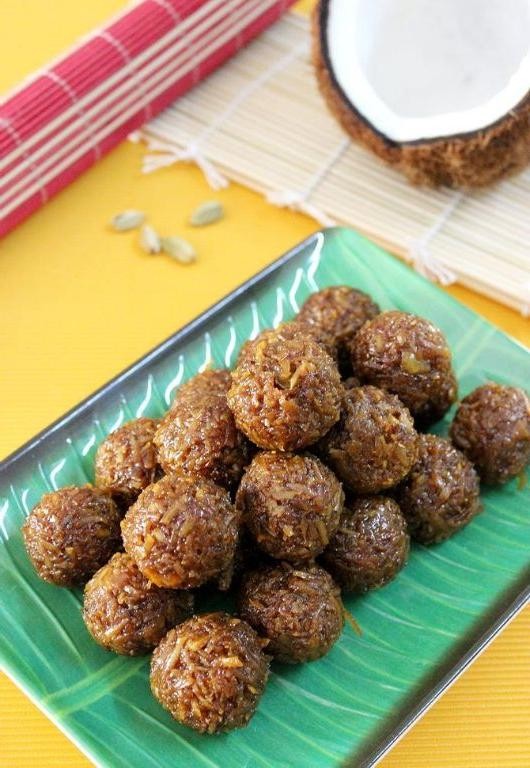
18 Delicious Navarathiri Recipes for Festive Celebrations
Navarathri, a nine-day Hindu festival dedicated to Goddess Durga, is a time for celebration, feasting, and merriment. One of the...
Sweet Dessert Recipes
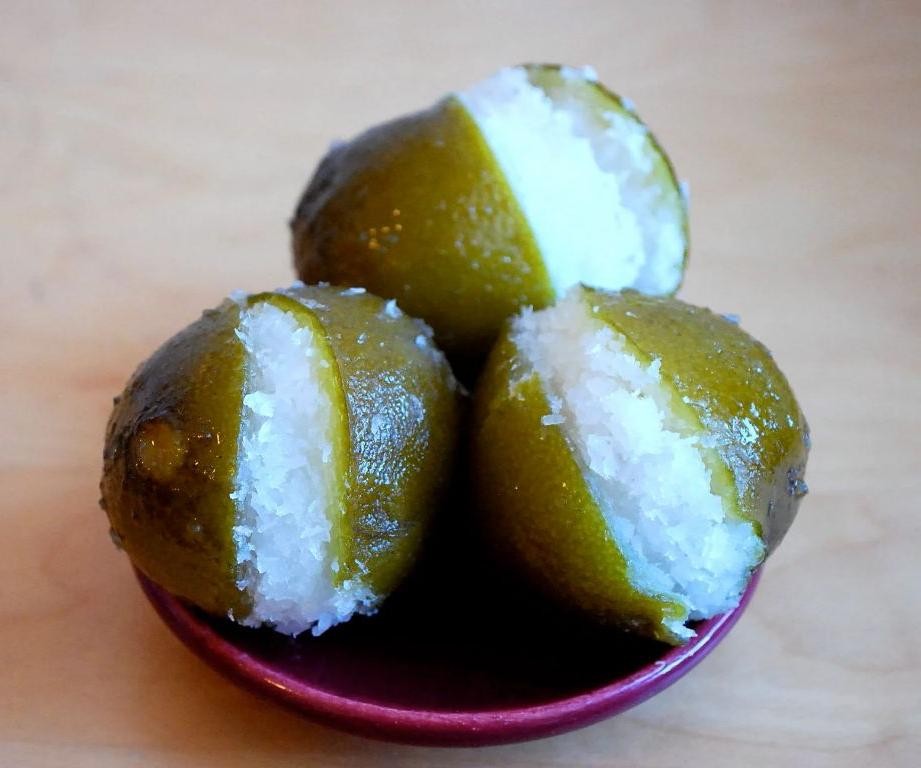
20 Delicious Candy Mold Recipes for Every Occasion
Get ready to unleash your inner candy maker with these 20 delicious candy mold recipes! Whether you’re a seasoned confectioner...

Chicken Recipes
20 Delicious Bariatric Chicken Recipes for Weight Loss
Are you looking for a delicious and healthy way to lose weight after bariatric surgery? Look no further! Chicken is...

Sweet Dessert Recipes
18 Delicious Bakers Corner Recipes for Sweet Lovers
Are you a sweet tooth looking for new and exciting recipes to satisfy your cravings? Look no further! Bakers Corner...
Seafood Recipes
18 Flavorful Paddlefish Recipes Tasty
Paddlefish, a type of catfish found in North America, is often overlooked as a culinary ingredient. However, this versatile fish...
Weeknight Recipes
18 Quick Healthy Weeknight Recipes Delicious
Are you tired of the same old weeknight dinner routine? Look no further! With these 18 quick and healthy recipe...
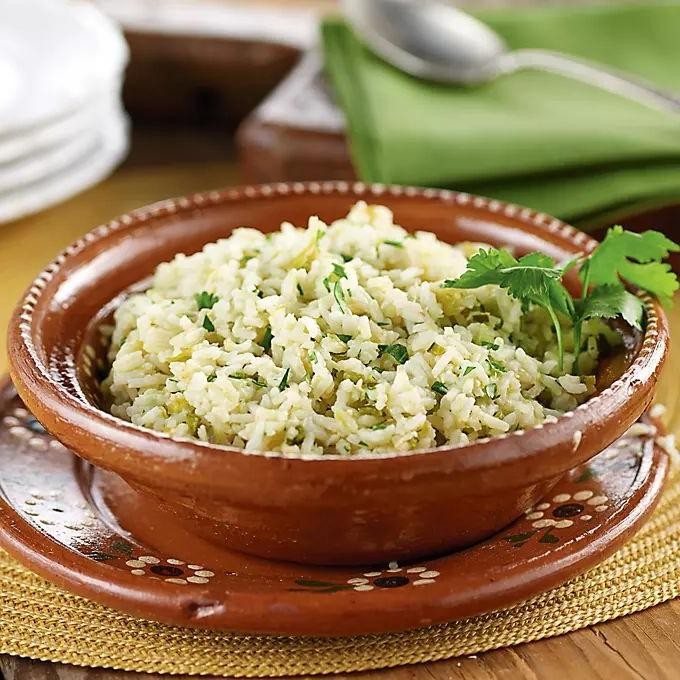
Family Dinner Recipes
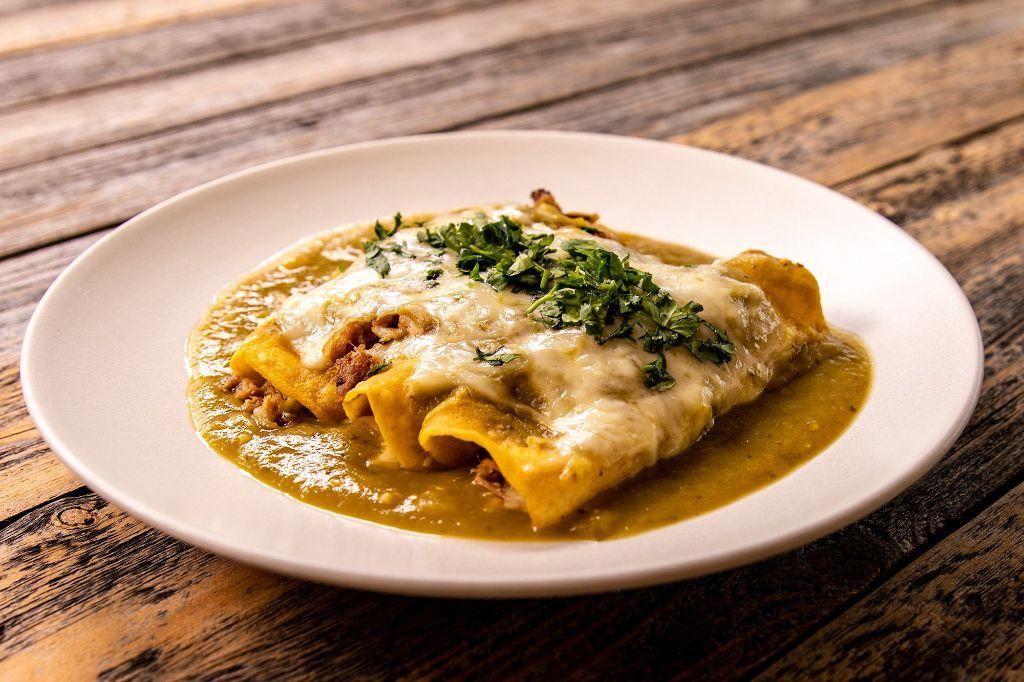
18 Flavorful Dinner Recipes with Tomatillos Savory
18 Flavorful Dinner Recipes with Tomatillos You Need to Try Tomatillos are often overlooked in favor of their more famous...
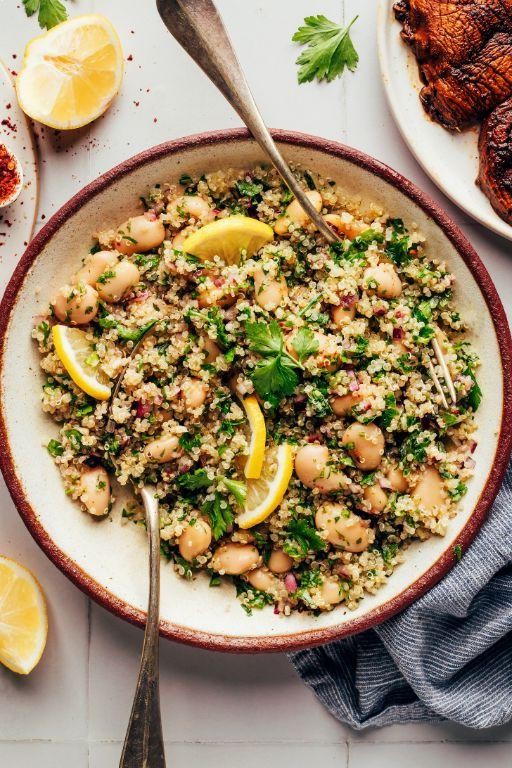
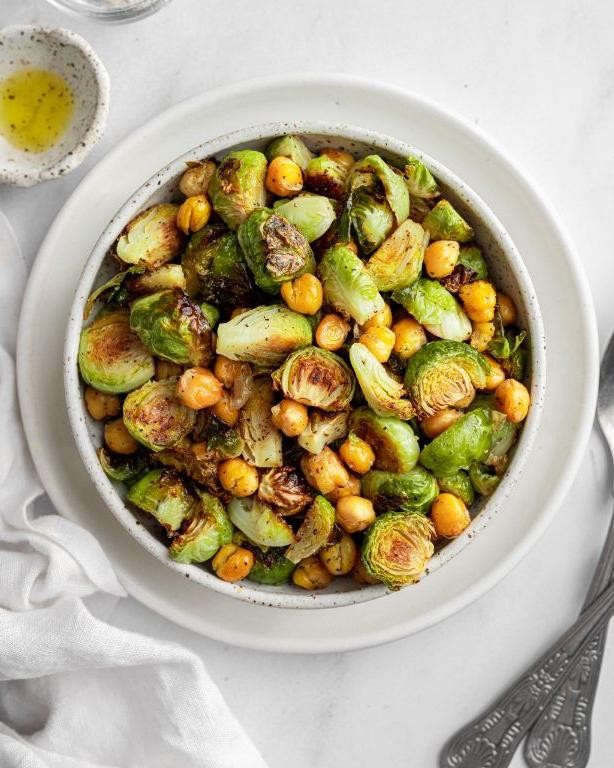
Vegetarian Recipes
20 Creamy Vegan White Bean Recipes Deliciously Satisfying
Indulge in the rich, velvety texture and nutty flavor of creamy vegan white beans! Whether you’re a seasoned vegan or...
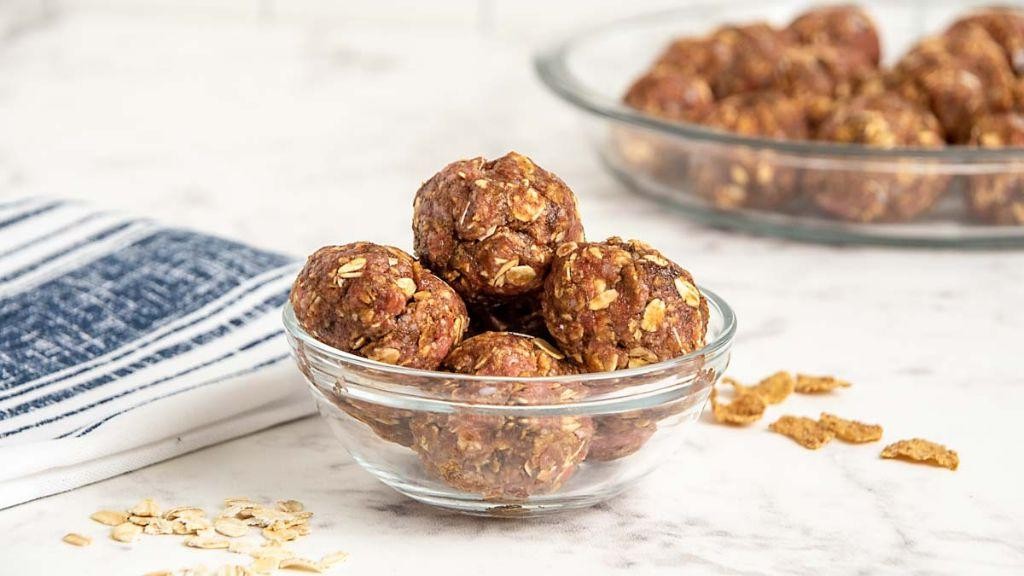
Sweet Dessert Recipes
19 Creamy Satin Ball Recipes Delicious
Get ready to indulge in a world of rich flavors and satisfying textures with our collection of 19 Creamy Satin...