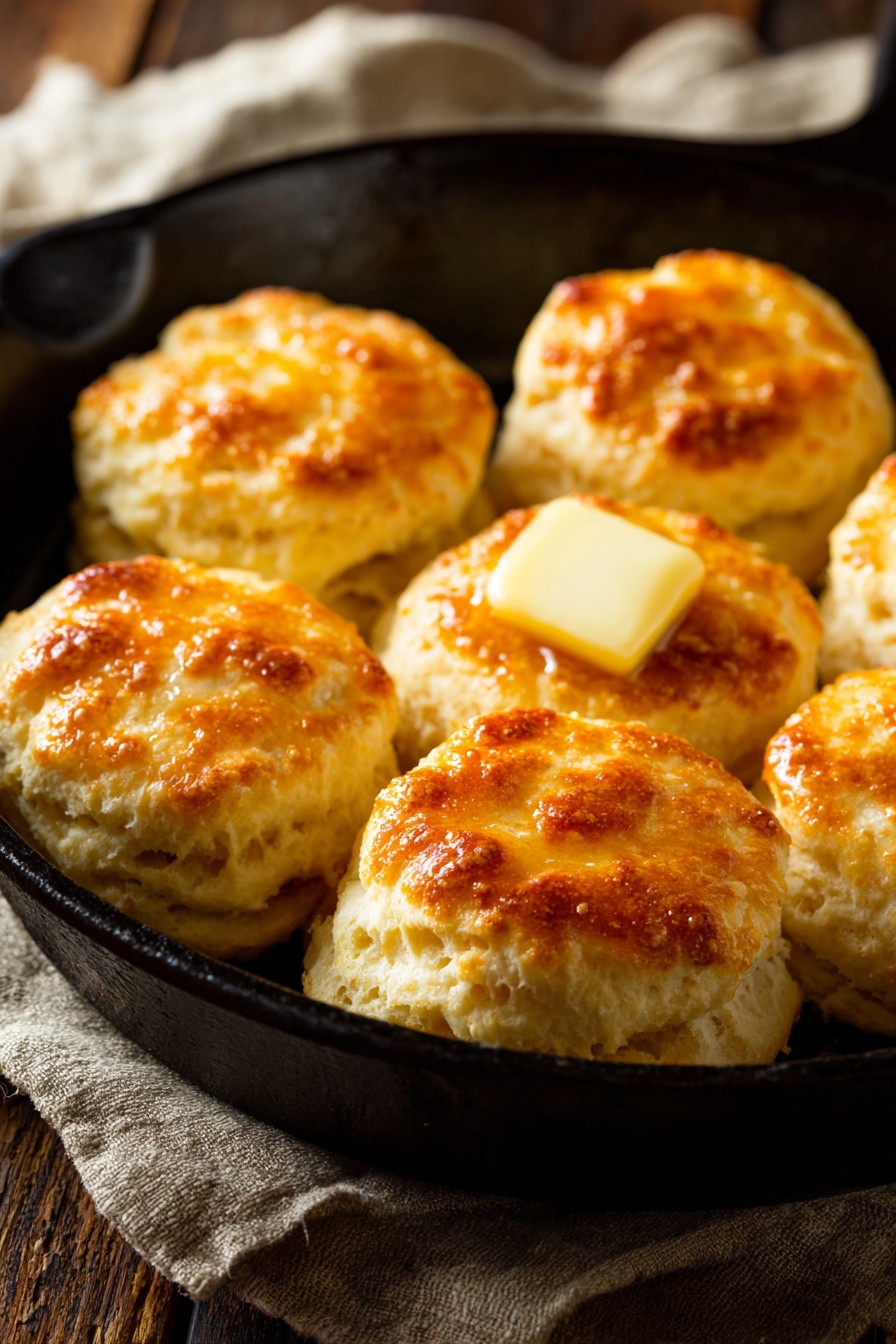
Yikes, have you ever stared at a sad, store-bought biscuit and thought, “This could use more personality and about a pound of butter”? You’re not alone, my friend. Today, we’re ditching the cardboard impersonators and making skillet biscuits so gloriously tender and buttery, they’ll make your taste buds write thank-you notes. It’s like a warm hug for your soul, but edible and far less awkward.
Why This Recipe Works
- Using a cast-iron skillet creates a perfectly crisp bottom and even heat distribution, so your biscuits don’t just bake—they achieve enlightenment.
- Freezing the butter before incorporating it ensures those flaky, buttery layers that make you question all your life choices up until this point.
- Buttermilk adds a subtle tang and reacts with baking soda for a lift so light, these biscuits practically float off the pan.
- Starting in a hot oven then lowering the temperature prevents burning while giving the insides time to cook through without turning into hockey pucks.
Ingredients
- 2 ½ cups all-purpose flour, plus extra for dusting (because flour likes to party everywhere)
- 1 tablespoon baking powder (the magic lift agent)
- 1 teaspoon baking soda (buttermilk’s best friend)
- 1 teaspoon salt (to make everything taste less sad)
- ½ cup (1 stick) unsalted butter, frozen for 30 minutes (the star of the show)
- 1 cup cold buttermilk (the tangy sidekick)
- 2 tablespoons melted butter for brushing (because more butter is always the answer)
Equipment Needed
- 10-inch cast-iron skillet (non-negotiable for crispy bottoms)
- Large mixing bowl
- Box grater or pastry cutter
- Measuring cups and spoons
- Pastry brush or spoon for butter application
- Oven mitts (unless you enjoy spontaneous hand tattoos)
Instructions
Step 1: Preheat and Prep Like a Pro
First, crank that oven to 450°F—yes, it sounds aggressive, but trust the process. While it heats up, grab your frozen butter stick and a box grater. Grate that butter directly into a bowl, then pop it back in the freezer for 10 minutes. Why? Because cold butter equals flaky layers, and warm butter equals a sad, greasy mess. Meanwhile, whisk together your flour, baking powder, baking soda, and salt in a large bowl. Tip: If you don’t have a box grater, you can dice the frozen butter into tiny cubes, but grating is faster and more fun—it’s like making butter snow! This step ensures your butter stays cold, which is crucial for creating those irresistible, flaky layers that’ll make you forget your name.
Step 2: Mix with a Light Touch
Now, take your grated butter from the freezer and sprinkle it over the flour mixture. Use your fingers or a pastry cutter to gently work it in until it resembles coarse crumbs with some pea-sized butter bits—think of it as making a buttery sandcastle, not a paste. Pour in the cold buttermilk and stir with a fork just until the dough comes together. It’ll be shaggy and messy, like a toddler’s art project, but that’s perfect. Tip: Overmixing is the enemy here; it develops gluten and leads to tough biscuits. If the dough seems too dry, add a tablespoon more buttermilk, but resist the urge to knead it into submission. This gentle handling keeps the butter cold and the texture light, so your biscuits stay tender instead of turning into doorstops.
Step 3: Shape and Cut with Care
Dump the dough onto a lightly floured surface and pat it into a 1-inch thick rectangle—no rolling pin needed, just use your hands like you’re giving it a gentle high-five. Fold the dough in half, then pat it out again; repeat this folding process once more to build layers. Using a 2 ½-inch round cutter (or a glass if you’re improvising), cut out biscuits by pressing straight down without twisting. Twisting seals the edges and prevents rising, which is as tragic as a popped balloon. Place the biscuits in your ungreased cast-iron skillet, touching each other so they rise up instead of out. Tip: If you don’t have a cutter, you can shape the dough into a circle and cut it into wedges—less waste, same deliciousness. This step creates those beautiful, tall biscuits that are fluffy on the inside and crispy on the outside.
Step 4: Bake to Golden Perfection
Pop the skillet into the preheated 450°F oven and immediately reduce the temperature to 400°F. Bake for 15-18 minutes, or until the tops are golden brown and the biscuits have puffed up like proud little clouds. To check for doneness, insert a toothpick into the center of a biscuit—it should come out clean, not with wet dough clinging to it. About 5 minutes before they’re done, brush the tops with melted butter for an extra glossy, flavorful finish. Tip: If the tops brown too quickly, tent them with aluminum foil to prevent burning while the insides cook through. This two-temperature method ensures a crisp exterior without sacrificing that tender, fluffy interior we’re all dreaming of.
Step 5: Serve and Devour Immediately
Once out of the oven, let the biscuits cool in the skillet for 5 minutes—just long enough to avoid burning your mouth but not so long they lose their warmth. Then, grab a knife, split one open, and slather it with more butter (because why stop now?). Serve them warm with jam, honey, or as a side to your favorite meal. They’re best eaten fresh, but if you have leftovers (unlikely), store them in an airtight container for up to 2 days and reheat in a 350°F oven for 5 minutes. Tip: For an extra treat, drizzle with honey or sprinkle with flaky sea salt right after brushing with butter. This final step is all about indulgence, so don’t hold back—these biscuits are a celebration in edible form!
Tips and Tricks
For the flakiest biscuits, freeze your flour and bowl for 15 minutes before starting—it keeps everything extra cold. If you’re out of buttermilk, make a quick substitute by adding 1 tablespoon of lemon juice or vinegar to 1 cup of milk and letting it sit for 5 minutes. To save time, you can mix the dry ingredients and grate the butter ahead of time, storing them separately in the fridge until ready to use. For a crispier bottom, preheat your cast-iron skillet in the oven for 10 minutes before adding the biscuits. And if you want to get fancy, sprinkle the tops with everything bagel seasoning or grated cheese before baking for a savory twist. Remember, patience is key—don’t rush the cooling or mixing steps, or you’ll end up with biscuits that are denser than a mystery novel.
Recipe Variations
- Cheesy Garlic Bliss: Add 1 cup of shredded cheddar cheese and 2 minced garlic cloves to the dough, then brush with garlic butter after baking.
- Sweet Cinnamon Swirl: Mix ¼ cup of sugar and 1 tablespoon of cinnamon, layer it in the dough before cutting, and top with a vanilla glaze.
- Herb-Infused Delight: Stir in 2 tablespoons of chopped fresh herbs like rosemary or chives for a savory upgrade perfect for soups.
- Bacon and Chive Bombs: Fold in ½ cup of cooked, crumbled bacon and 2 tablespoons of chopped chives for a breakfast game-changer.
- Whole Wheat Twist: Substitute 1 cup of all-purpose flour with whole wheat flour for a nuttier flavor and extra fiber.
Frequently Asked Questions
Q: Can I make these biscuits without a cast-iron skillet?
A: Absolutely! Use a baking sheet lined with parchment paper, but expect a slightly less crispy bottom. The cast-iron works magic by distributing heat evenly, so if you’re using a regular pan, keep an eye on the baking time—it might need a minute or two less.
Q: Why is my dough too sticky or too dry?
A: Dough consistency can vary based on humidity and flour type. If it’s sticky, add a tablespoon of flour; if it’s dry, add a splash of buttermilk. Just adjust gradually—you’re aiming for a shaggy, manageable dough, not a perfect ball.
Q: Can I freeze the unbaked biscuits for later?
A: Yes, you genius! After cutting, place them on a baking sheet, freeze until solid, then transfer to a bag. Bake from frozen, adding 3-5 extra minutes. It’s like having fresh biscuits on demand, which is basically culinary superpowers.
Q: What’s the best way to reheat leftover biscuits?
A: Avoid the microwave—it turns them rubbery. Instead, warm them in a 350°F oven for 5-7 minutes or toast them lightly. This restores their crispness and makes them taste almost as good as fresh.
Q: Can I use salted butter instead of unsalted?
A: You can, but reduce the added salt by half to avoid over-salting. Unsalted butter gives you more control, but in a pinch, salted works—just taste as you go, like a cautious food detective.
Summary
These skillet biscuits are a buttery, flaky dream come true—easy to make, impossible to resist, and perfect for any meal. With a few simple tips and playful twists, you’ll master them in no time. Now go bake and enjoy the delicious rewards!
Skillet Biscuits with Butter
8
servings15
minutes18
minutesIngredients
Instructions
- 1 Preheat oven to 450°F. Grate frozen butter into a bowl and freeze for 10 minutes. In a large bowl, whisk flour, baking powder, baking soda, and salt.
- 2 Sprinkle grated butter over flour mixture and work in until coarse crumbs form. Stir in buttermilk just until dough comes together.
- 3 On a floured surface, pat dough into a 1-inch thick rectangle, fold in half, and repeat. Cut out biscuits with a 2 ½-inch cutter and place touching in an ungreased 10-inch cast-iron skillet.
- 4 Bake at 450°F, immediately reduce to 400°F, and bake for 15-18 minutes until golden brown. Brush with melted butter 5 minutes before done.
- 5 Cool in skillet for 5 minutes, then serve warm with extra butter, jam, or honey.